Amazon Flex Package Scanning Tips 2026: Master Barcode Scanning for Faster Pickups
Learn expert scanning techniques, troubleshoot common issues, and streamline your station pickup process for maximum efficiency.

Table of Contents
Package scanning might seem like a simple task, but mastering it separates efficient Amazon Flex drivers from those who struggle at stations. Every second spent fumbling with scans at the station is time you're not earning on the road. This guide covers everything from basic scanning technique to advanced troubleshooting, helping you move through station pickup quickly and confidently.
1. Understanding Package Scanning Basics
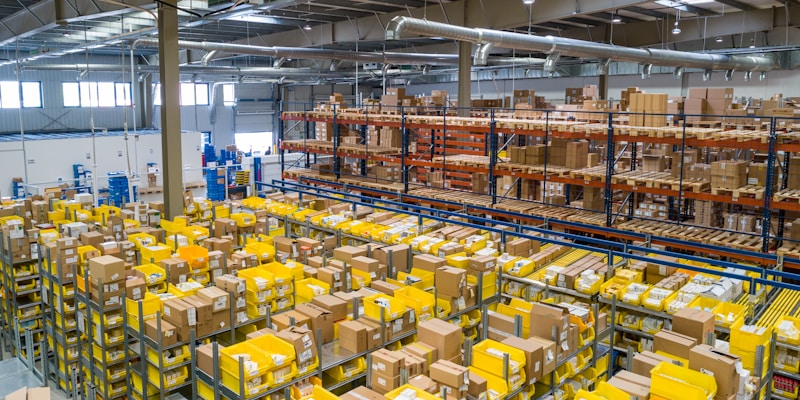
Package scanning serves two critical purposes: it transfers custody of the package to you and confirms you have the correct packages for your assigned route. When you scan a package, the Amazon system registers that you're now responsible for that item and tracks it as in transit to the delivery address.
The Amazon Flex app uses your phone's camera as a barcode scanner. When the app recognizes a valid barcode, it reads the encoded information, matches it against your assigned route, and confirms the scan. This process typically takes less than a second with proper technique—but can take much longer if you're doing it wrong.
There are two main scanning scenarios in Amazon Flex: station pickup scanning (scanning packages into your cart) and delivery scanning (scanning at the delivery location to confirm delivery). While the mechanics are similar, the context and challenges differ. This guide primarily focuses on station scanning, with a dedicated section on delivery scanning later.
Every package has a unique tracking barcode that links to the delivery information. Your scan creates a digital record showing when and where you accepted the package. This chain of custody protects both you and Amazon—it proves you received the package and tracks your possession until delivery confirmation.
2. Optimal Scanning Technique
The difference between a one-second scan and a five-second scan comes down to technique. Here's how to scan packages efficiently:
The Perfect Scan Position:
- Distance: Hold phone 6-10 inches from the barcode
- Angle: Keep phone parallel to the barcode (straight on)
- Steadiness: Hold phone steady—movement causes focus issues
- Framing: Center the barcode in the scanning area
- Speed: Don't rush—give the camera time to focus
Distance Matters: Too close and the camera can't focus; too far and the barcode becomes unreadable. The sweet spot is typically 6-10 inches, but this varies by phone. Experiment with your specific device to find the optimal distance.
Angle and Alignment: Scanning at an angle reduces readability. Hold your phone so the camera faces the barcode squarely, not at a tilt. If a barcode is on the side of a box, turn the box or yourself to create a perpendicular angle.
Stability: Shaky hands cause blurry scans. Brace your phone hand or use two hands for stability. In cold weather, consider using gloves with touch-screen capability rather than exposing your hands—cold hands shake more.
3. Understanding Barcode Types

Amazon packages use several barcode types, and understanding them helps you scan more efficiently:
Linear Barcodes: Traditional barcodes with vertical lines. These are still common on Amazon packages and require careful alignment—the lines must be clearly visible to the camera.
QR Codes: Square barcodes with a pattern of black and white squares. QR codes are more forgiving of angle and damage than linear barcodes and scan quickly.
DataMatrix Codes: Similar to QR codes but typically smaller. These often appear alongside traditional barcodes and may scan faster.
Pro Tip: Multiple Barcodes
Many packages have multiple barcodes. The Amazon Flex app looks for a specific one—usually the shipping label barcode. If one barcode doesn't scan, try another on the package. The correct barcode is typically on the main shipping label, not on the product inside.
Identifying the Right Barcode: The Amazon shipping label barcode is typically printed on a white label applied to the package, not on the product packaging itself. Look for labels with the "TBA" tracking number and Amazon smile logo—the barcode on this label is what you need to scan.
4. Managing Lighting Conditions
Lighting significantly affects scan success. Most stations have adequate lighting, but you'll encounter variations that require adaptation:
Low Light: Dark conditions make barcodes harder to read. Many phones automatically enable the flash when scanning in low light—allow this feature to work. If your phone doesn't auto-flash, enable the flashlight or move to a better-lit area.
Glare: Shiny packaging or certain label materials can create glare that obscures the barcode. Angle the package slightly to redirect the glare away from your camera. Avoid scanning directly under bright overhead lights that create hotspots.
Shadows: Your hand or body can cast shadows on the barcode. Position yourself so your scanning hand doesn't block light from reaching the barcode. This often means holding the package differently than feels natural.
Lighting Quick Fixes:
- Enable camera flash for consistent lighting
- Turn package to avoid glare on shiny surfaces
- Step to a different area of the station if lighting is poor
- Wipe condensation from packages that were in cold storage
5. Troubleshooting Failed Scans

When scans fail, work through this troubleshooting sequence:
Step 1 - Check Your Camera Lens: Fingerprints, smudges, and dust on your camera lens cause more failed scans than any other factor. Wipe your lens clean with a soft cloth before starting and periodically throughout your shift.
Step 2 - Adjust Distance: If the scan fails, try moving closer or farther from the barcode. Your phone's autofocus may be struggling at your current distance.
Step 3 - Check Barcode Condition: Examine the barcode for damage. Wet, torn, wrinkled, or faded barcodes scan poorly. If the barcode is wrinkled, try smoothing it flat with your finger. If it's wet, try to dry it or tilt to reduce reflections.
Step 4 - Try Different Angle: Tilt the package or your phone slightly. Sometimes a different angle improves readability, especially with damaged or poorly printed barcodes.
Step 5 - Look for Alternative Barcodes: Check if the package has another scannable barcode. Some packages have backup barcodes or QR codes that may scan better than the damaged primary barcode.
Common Scan Failures and Solutions:
- Barcode too small: Move phone closer, use zoom if available
- Barcode partially obscured: Peel back tape or labels covering it
- Faded barcode: Try enhanced lighting, manual entry if unreadable
- Curved surface barcode: Flatten the surface or scan in sections
- App freezing: Close and restart the app
6. When and How to Use Manual Entry
The Amazon Flex app provides a manual entry option when scanning fails. Here's how to use it effectively:
Accessing Manual Entry: Look for a "Can't Scan" or "Manual Entry" option on the scanning screen. Tapping this opens a field where you can type the barcode numbers.
Finding the Number: The tracking number is printed below or near the barcode. For Amazon packages, look for the TBA tracking number (typically starts with "TBA" followed by numbers). Enter this number exactly as printed, including any letters.
Manual Entry Best Practices:
- Double-check your entry before submitting—errors cause problems
- Use manual entry only when scanning genuinely fails
- Note the characters carefully—zeros vs. letter O, ones vs. letter I
- If manual entry fails repeatedly, ask station staff for help
When to Avoid Manual Entry: Don't use manual entry simply because it's faster than focusing a scan. Scanning creates a more reliable record and reduces the chance of data entry errors. Reserve manual entry for genuinely unscannable barcodes.
7. Handling Missing Packages

Sometimes a package on your assigned list isn't in your cart or rack location. Here's how to handle missing packages:
Double-Check First: Before reporting a package missing, thoroughly search your cart and the surrounding area. Packages can slide under other items, fall off carts, or end up in adjacent staging areas. Check the floor around your cart location.
Ask for Assistance: Station staff can help locate missing packages. They may know that a package was pulled, restaged, or is in a different location. Don't spend excessive time searching—ask for help after a reasonable search.
Reporting Missing Packages: If the package cannot be found, use the app to mark it as missing. Select the appropriate option (varies by station type) and move on. The package will be flagged in the system and handled by station staff.
Critical Rule:
Never scan a package as picked up if you don't have it. This creates false records and accountability issues. If a package is missing, report it missing—don't scan it hoping it will turn up. You become responsible for any package you scan.
8. Speed Scanning Techniques
Professional Flex drivers develop scanning speed through technique refinement and preparation. Here are advanced techniques for faster scanning:
Pre-Scan Preparation: Before you start scanning, ensure your phone is fully charged, your camera lens is clean, and the app is open and ready. Arriving at the station prepared saves time before you even touch a package.
One-Motion Scanning: Develop a fluid motion: pick up package, rotate to barcode, scan, place in car/cart. This should become one continuous movement rather than discrete steps. Practice reduces time between scans.
Barcode Orientation: Learn where barcodes typically appear on Amazon packages. Most are on the top or side shipping label. Anticipating barcode location speeds up the rotation and scan process.
Speed Scanning Tips:
- Keep phone in same hand throughout—develop muscle memory
- Don't wait for audio confirmation before grabbing next package
- Visual confirmation is faster—watch for the green checkmark
- Group similar-sized packages together for consistent scanning rhythm
- Use your non-phone hand to start rotating the next package
9. Organizing While Scanning

Smart drivers don't just scan packages—they organize while scanning. This integration saves significant time during deliveries.
Zone-Based Organization: As you scan, group packages by delivery zone or route order. The app shows the general delivery area—use this to place packages in sections of your vehicle corresponding to route progression.
Size Segregation: Large packages go on the bottom or in designated large-item areas; small packages and envelopes should be easily accessible. This prevents crushing and speeds up package retrieval during deliveries.
Label Visibility: Position packages so shipping labels face upward or outward. When you arrive at a delivery address, you can quickly identify the correct package without flipping items over.
Organization Strategy:
- Create mental zones in your vehicle before scanning
- Note package sequence numbers if provided—organize accordingly
- Keep signature-required packages accessible and marked
- Reserve front passenger area for immediate next deliveries
- Heavy packages go in first, light on top
10. Scanning During Deliveries
Delivery scanning differs from station scanning in context and purpose. Here's how to handle scanning at delivery locations:
Confirming Delivery: Some deliveries require you to scan the package again at the delivery location. This confirms the package reached the correct address and completes the delivery record.
Scanning Before Photos: The typical delivery sequence is: arrive, retrieve package, scan at door, take delivery photo, place package, complete in app. Scanning before photographing ensures the package is confirmed at the correct location.
Returns and Undeliverables: Packages returning to the station must often be scanned when you return them. Follow app prompts for return scanning—this closes the loop on undelivered packages.
Problem Deliveries: If you encounter issues (wrong address, missing unit number, access problems), follow the app's guided process. This often involves scanning options that record the issue and guide next steps.
11. Phone Camera Optimization
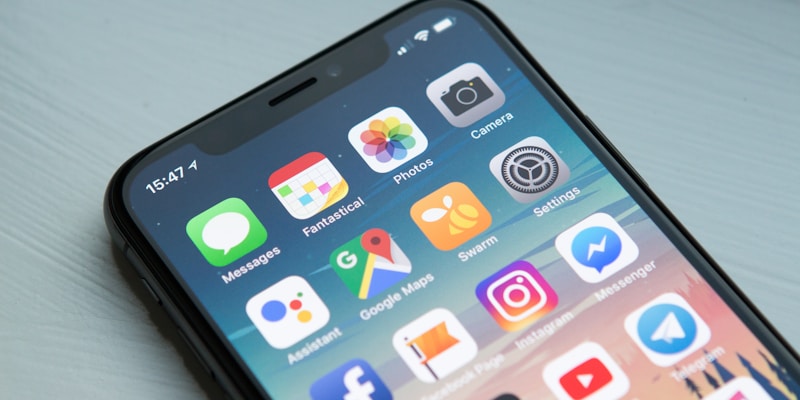
Your phone's camera is your primary tool for scanning. Optimizing it improves scan reliability and speed:
Camera App Settings: While you can't modify the Amazon Flex app's scanner directly, keeping your phone's camera in good condition affects scanning. Ensure your camera app works properly—if your regular camera has focus issues, so will the Flex scanner.
Storage and Speed: Full phone storage can slow camera performance. Keep at least 10-15% of storage free for optimal camera speed and app performance.
Clean Camera Lens: We've mentioned this before, but it bears repeating—a clean lens is the single most important factor for reliable scanning. Carry a microfiber cloth and clean your lens periodically during shifts.
Phone Optimization Checklist:
- Keep lens clean with microfiber cloth
- Maintain at least 10-15% free storage
- Update the Amazon Flex app regularly
- Restart phone occasionally to clear memory
- Protect phone from extreme temperatures
- Use a case that doesn't obstruct the camera
12. Frequently Asked Questions
Why won't my Amazon Flex app scan the package barcode?
Common reasons include damaged or wrinkled barcodes, poor lighting conditions, smudged camera lens, or barcode printed too faintly. Try cleaning your camera lens, adjusting the distance and angle, or using manual entry if the barcode is damaged. Good lighting significantly improves scan success rates.
What do I do if a package is missing from my Amazon Flex cart?
If a package is missing, first double-check your cart and surrounding area. Ask warehouse staff for assistance—sometimes packages fall or get misplaced. If the package cannot be found, use the app to mark it as missing. Never scan a package as picked up if you don't have it.
Can I manually enter a barcode number if scanning doesn't work?
Yes, the Amazon Flex app allows manual entry when scanning fails. Look for the manual entry option in the scanning screen. Enter the numbers below the barcode carefully—incorrect entries can cause delivery issues. Manual entry should only be used when scanning genuinely fails.
How can I scan packages faster at the Amazon station?
Speed up scanning by keeping your camera lens clean, holding the phone at optimal distance (6-10 inches), ensuring good lighting, and having the scanning screen ready before picking up each package. Organize packages as you scan—group by route order to save time later during deliveries.
Level Up Your Amazon Flex Game
Fast scanning is just the beginning. Explore our complete guide collection for strategies that boost your earnings and efficiency.
Browse All Guides
About Glen Meade
Founder of FlexDriverGuide and SideQuestHustle.com. I've spent years researching gig economy platforms and interviewing hundreds of drivers to bring you strategies that actually work. My goal is to help you maximize your earnings while avoiding common pitfalls.